Revamped Tahoe Part 1
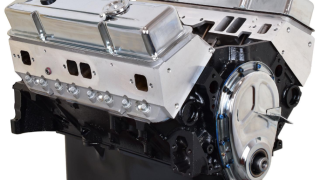
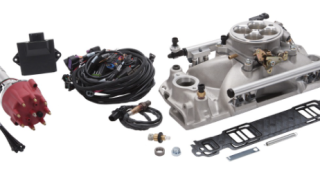
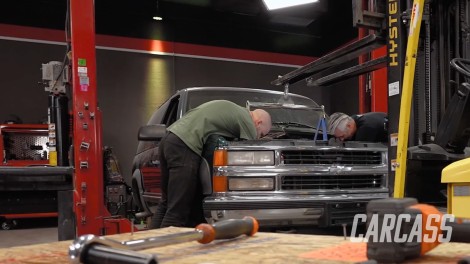
The Carcass crew bring in a road worn 1996 4X4 two door Tahoe with plans to convert it into the low production two wheel drive version. They'll start by replacing the blue-smoke-puffing V8 and drop in a new powerplant for better performance and reliability. Plus add a suspension to start the transformation.
Season 5
Episode 13