Revamped Tahoe Part 2
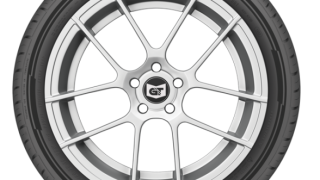
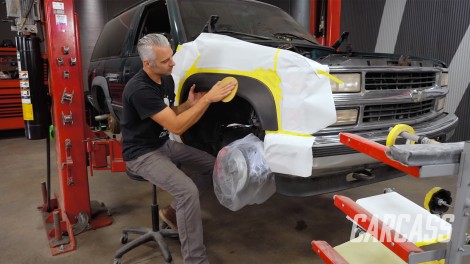
Our 1996 Chevy Tahoe continues its conversion with exterior improvements and new wheels and tires. Plus, we'll show you some tips on how to properly measure for new a driveshaft.
Season 5
Episode 14