Multi-port FI/WWII Vehicle/Tool Tips
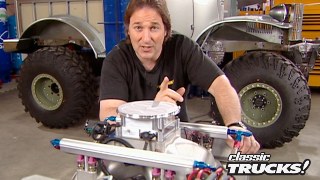
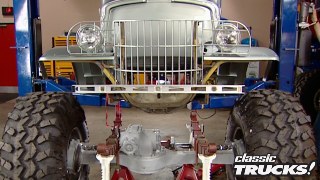
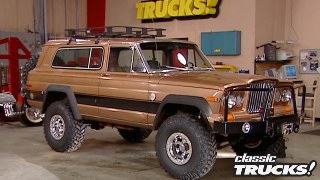
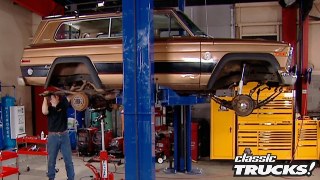
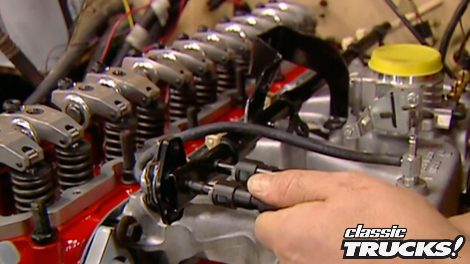
We tackle the CJ seven, upgrading it to a Mopar multi-port fuel injection system. The installation involves replacing the stock carburetor, timing setup with a new distributor, and tackling rewiring, ensuring our trail boss is ready for any off-road adventure.
Season 3
Episode 3