Blazer Motor/Tools/Paint
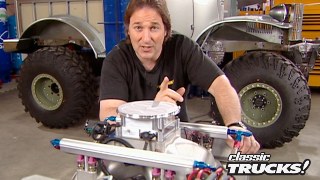
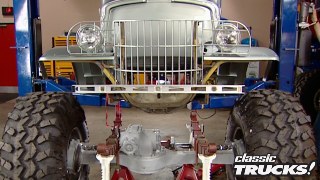
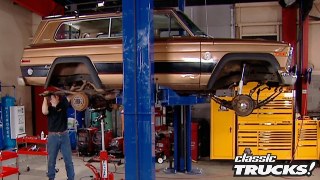
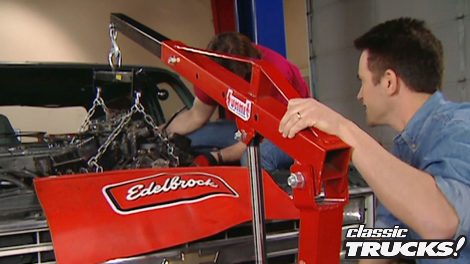
In our latest project, we tackle major enhancements on an 88 Chevy Blazer by installing a GM Ramjet 350 crate motor, replacing its old engine that's seen better days. To ensure a seamless engine swap, we prepare by clearing the engine bay, addressing the cooling system, and meticulously organizing electrical components. This project promises to restore not only power but efficiency to our off-road-ready Blazer, all while setting the stage for some exciting modifications in the drivetrain and suspension upgrades to follow.
Season 3
Episode 13