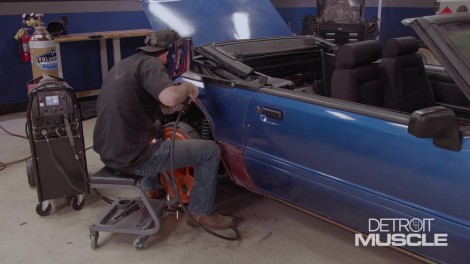
A Bit of Plastic Surgery
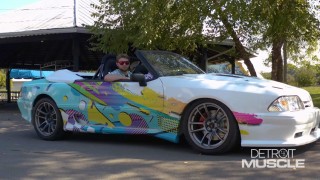
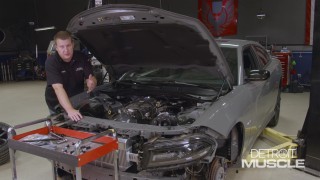
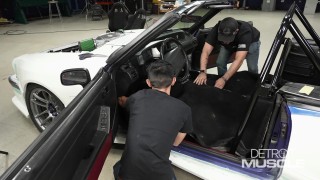
Tommy and Peyton's 1990 Mustang is about to undergo a major transformation with a new widebody kit. By the end of the day, this car will go from a compact pony to a powerful, commanding presence on the road.
Season 11
Episode 7