Project Struck Out / 69 GTO Part 1
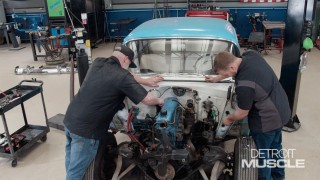
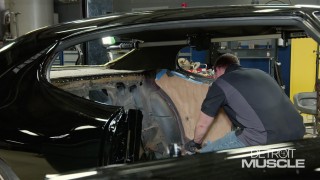
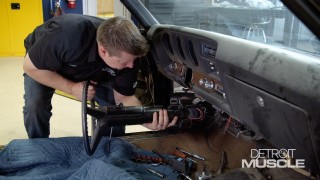
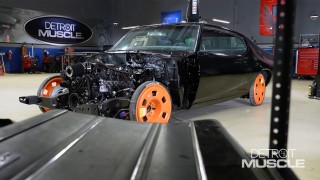
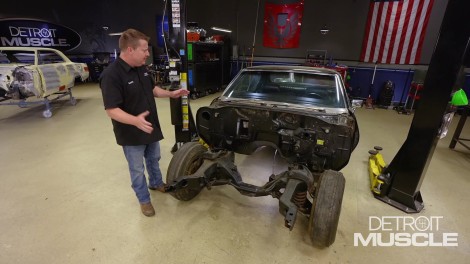
As Tommy and Peyton resume work on their 1966 Chevy Nova, they suddenly learn that this project may go from Starstruck to Struck Out. With that, they switch gears into another historic muscle car, 1969 Pontiac GTO.
Season 11
Episode 8