SCCA SPEC Mustang Part 2
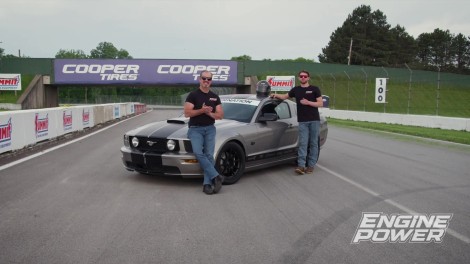
Our SPEC Mustang Project is back for final touches, as we get it ready to hit the track. After we finish our upgrades, we do just that and head to a Summit Racing Event and put it to the test.
Season 11
Episode 8