

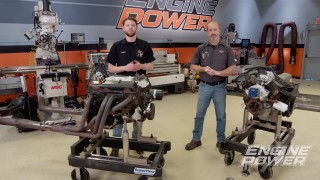
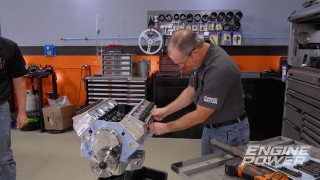


Engine Power Featured Projects


Engine Power Builds


Want more content like this?
Join the PowerNation Email NewsletterParts Used In This Episode
ARP
ARP Ultra-Torque Fastener Assembly Lubricant
ARP
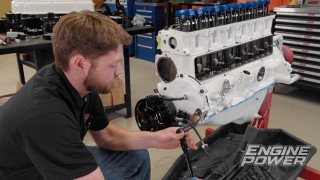
Head Studs
ARP
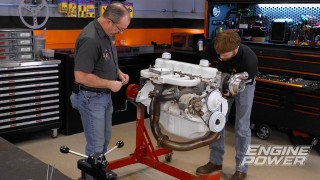
Oil Pump Driveshaft Specialty Kit Chevrolet Big Block
ARP
Stainless Steel Intake Bolts
Comp Cams
Evolution Retro-Fit Hydraulic Roller Lifters
Edelbrock
Fuel Injection Fuel Rails
Edelbrock
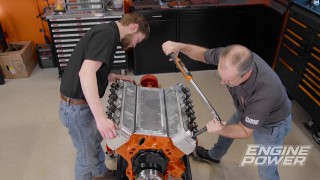
Super Victor EFI Tall Deck Big Block Chevy Intake Manifold
March Performance
Big Block Chevy All Inclusive Ultra Drive Serpentine System
WILSON MANIFOLDS
4500 Dominator Throttle Body
WILSON MANIFOLDS
Carburetor Spacer


