Mustang Suspension & Brakes
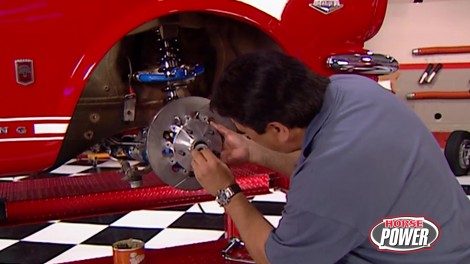
In our Mustang-focused project, we enhance the classic muscle car's performance with a coil-over suspension and massive disc brakes, turning it into a pro-touring powerhouse.
Season 4
Episode 18