Project Stink Ray Engine
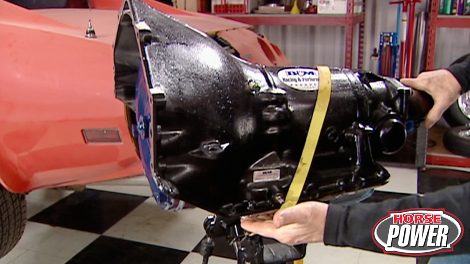
Our shop is bustling with excitement as we start working on Stink Ray, a 1976 Corvette Stingray. From dropping in a new 383 small block engine, adding a turbo transmission, to handling cooling upgrades and exhaust improvements, we are going to completely transform this classic into a beast on the road.
Season 9
Episode 13


