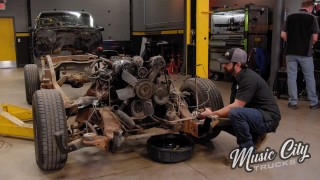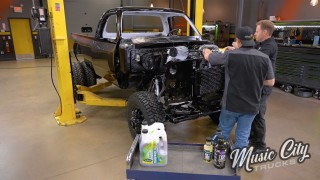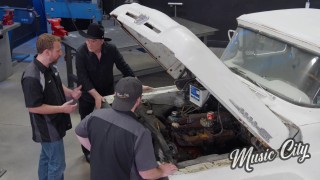
Ford F-100 Down to the Wire
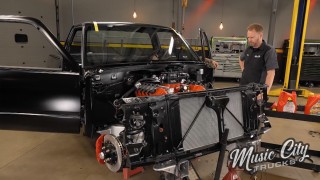
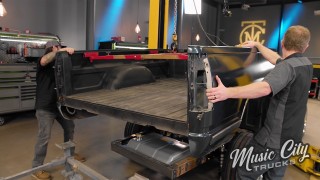
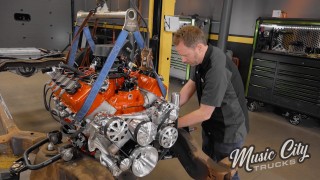
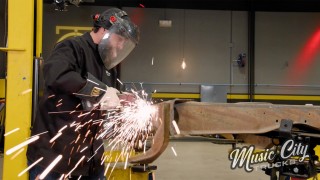
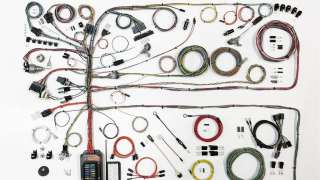
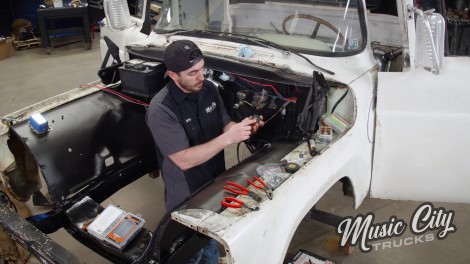
Inching ever closer to putting Clint Black’s Ford F-100 project to bed, Eric and Joel scrap all the old wood, refresh some essentials, and wire the engine to fire.
Season 4
Episode 3