Nissan Trailgater Part 2
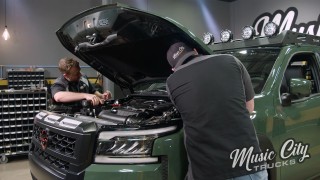
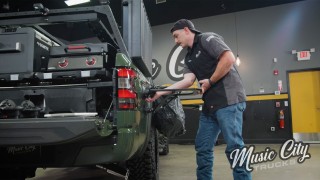
It’s mod-mayhem as we trick out our Trailgater with all the toys you’ll need for the ultimate tailgating experience. Eric and Joel use all of the cool features on our 2025 Nissan Frontier to install a fridge, grill, and TV setup so you can have everything you’ll need at your fingertips on game day.
Season 4
Episode 13