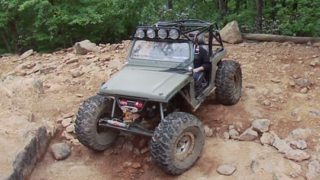
More CJ8 Scrambler Episodes

Xtreme 4x4 Builds

Parts Used In This Episode

Daystar Products International, Inc.
Daystar's Body Lift Kits are more than just spacer blocks placed on top of factory mounts! Instead, these are complete replacement body mounts with an additional 1" of height, which raises the body 1". Daystar's body lift kits use a special blend of Polyurethane that is resistant to vehicle fluids and road grime while keeping the body isolated from chassis noise and vibration. These mounts keep the body properly aligned with the frame and include all the necessary hardware for installation.
Mickey Thompson
17 X 9, 8-6.5, Classic II Mickey Thompson wheels.
Mothers Polish
368 Durable, Compressible Cleaning Fingers, Open-Cell Foam, Each
Mothers Polish
Mother's Power Metal Aluminum polish.
QA1
Adventure Series 2.0 Universal Mount Shocks.
Seals-It
This billet aluminum seal has three O-rings that seal it to the axle tube and two bonded, heavy duty, neoprene inner seals designed to compensate for any amount of axle shaft runout. Inner axle seal.
Aqualu Industries Inc.
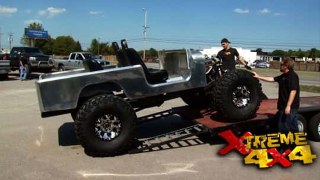
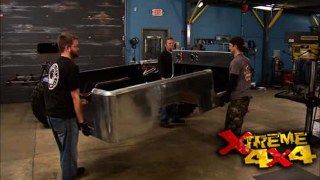
Aluminum replacement body shell for CJ-8 Scrambler.
Champion Beadlock
Rock Thrasher Beadlock Conversion with Rock Knobs.
Essentially Off-Road
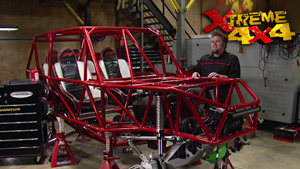
EOR offers a cage custom made to compliment the Jeep in all its different design. Whether it is a early model short wheelbase or a late model, all cages are designed to each Jeep model.
Interco Tire Co.
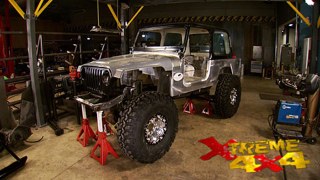
14/42-17LT IROK Tires.
JB Conversions
The LoMax case is a nodular iron casting machined to exact tolerances taken from the original New Process drawings. Aside from the stronger nodular iron recipe, the LoMax case offers more internal ribbing and wall thickness than the original NP205. The 3:1 gear set offered in the LoMax transfer case is stronger than the original New Process gears. The tooth width is wider than stock yet the overall case dimensions are equal to stock New Process design.
Napa Auto Parts
machine axle flange to match rotor inner diameter
O'Reilly Auto Parts
Fel-Pro intake and oil pan gaskets.
O'Reilly Auto Parts
9/16" Lug Nuts (32)
O'Reilly Auto Parts
Showtime Instant Detailer
Off Road Design
The Doubler is an all gear, dual transfer case system uniquely suited to full size trucks or other heavy duty, high output/abusive applications because of the durability of its components (all massive helical gears and large input/output shafts). Adapter plate for NP203 to TH400.
PRP Seats
Premier Series vinyl covered custom seats and floor mounts.
Rusty's Off Road
3" TJ long arms suspension system, with Radius Arms in front, and 4 link in the rear. Designed for increased wheel travel and more articulation. Jeep bumpers front and rear.
Throttle Down Kustoms
Custom Hybrid Frame frame with Scambler body mounts and Jeep TJ suspension.
Video Transcript

Oh,

thanks,

thanks.

Hi.

Hi, Dr.

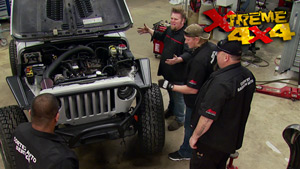
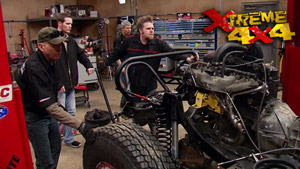
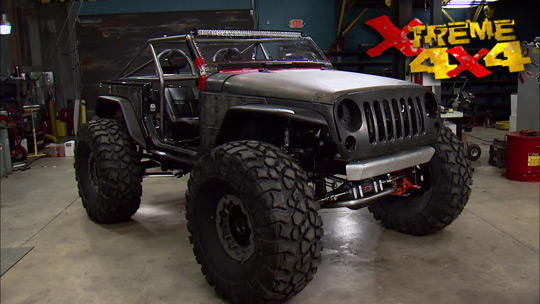
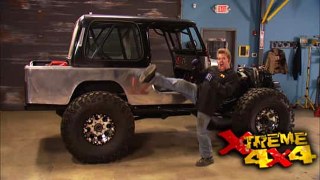
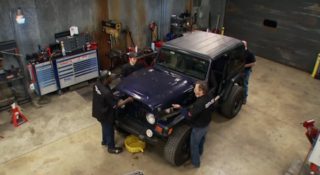
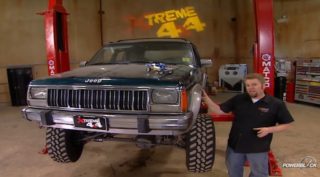
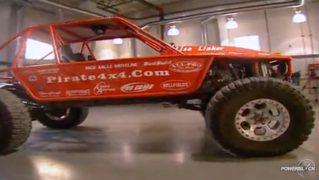
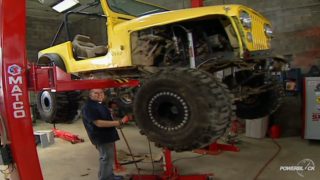
Now, I don't need to tell you guys how important it is to have more than just tools in your shop. Now, whether it's a video game machine or a pool table, your shop is more than just a place to build projects. It's a spot to get away from the daily grind and more importantly, it's not the size of your shop and we're putting our money where our mouth is because we're right in the middle of putting together a fully custom CJ eight scrambler in what is basically a two car garage.

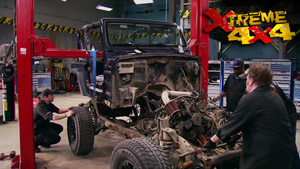
You see, we took the area under the mezzanine and built our own small garage.

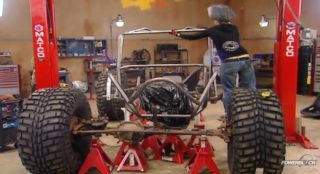
Then using common hand tools. We started with the drive train

building a set of custom 14 bolt axles, both front and rear

and then hung them on a rusty off road four L

TJ suspension kit

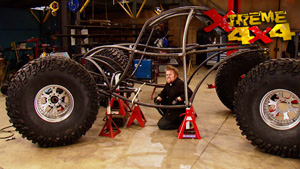
under a throttle down customs hybrid frame.

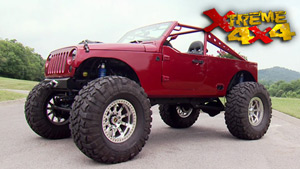
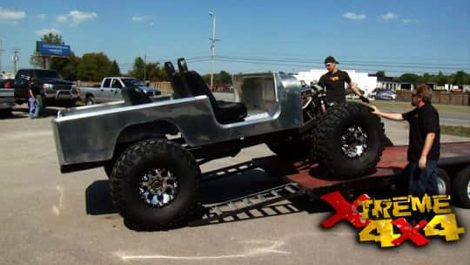
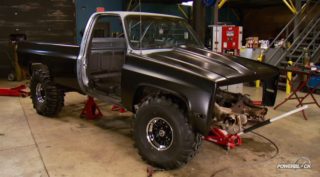
Well, today we're gonna get the axles and suspension back under this frame as well as a drive train wheels and tires. So we have a true rolling chassis. We'll drop a body on it and we will even do some custom fabrication even though we just have common hand tools in our small garage. It all starts with this bad boy right here. A 100% aluminum factory replacement scrambler body that we got from

aquilo

industry.

So this body is a great choice for our project.

I know that the four grand price tag might seem high for a budget build.

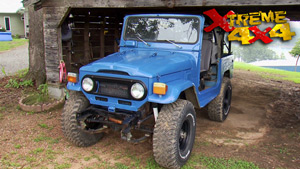
But when we looked at a used CJ eight,

almost all of them were in pretty rough shape if that's gonna mean a pile of body work.

Plus we're trying to build a truck that would be equally at home on the trail as on the magazine cover,

that would mean custom paint.

But with some WD 40 some 600 grip paper on ad a sander

and a final buff with some mother's polish.

This body will look like chrome,

nice job, Chris, I like that mirror shine. Thanks man. Now to mount this body onto the frame, we're gonna be using Daystar polyurethane mounts. Now, these mounts have an integrated one inch body lift to raise the body off the frame. Plus the polyurethane will last forever and resist drying out and even cracking.

Now, the wheels that we picked for this project are both classic in name as well as style, the Mickey Thompson Classic two aluminum wheel. Now, this wheel design has been around for what seems like forever and it truly is a timeless design. Now, the high polished aluminum finish as well as the heavy load rating and the steel inserts center placed in the mounting flinch make these wheels extremely strong, but to make them even more capable off road, we went ahead, boxed them up and sent them out to champion Bead Lock and they went ahead and cut the outer lip off and welded on one of their rock thrasher bead lock kits. Now this will pinch the outer beat of the tire when it's aired down to keep it from coming off. The rim.

Champion also sent us a set of rock knobs. Not only will they protect the bolt heads when you're on the trail, but they'll also give side traction

when you're pinned against the rocks and they look cool.

The tires for this. Jeep are 42 inch interco. I rocks 14.5 inches wide.

The scallop three stage lug design really tears into the terra

plus the integrated side biters along with the four fly side wall can handle some serious compression when aired down.

Now, one of the points of this particular project is to prove that we listen to what you guys want to see on the show, like building a complete truck in a small two car garage. And when it came to the drive train, we really put our money where our mouth is for the engine. We got to choose it. We chose an old school 383 Chevrolet small block. Just great. All around engine.

But when it came to the transmission and transfer case, we put the power in your hands, put a pole on our website and let you guys pick from a bunch of different options. And you picked a great one, a turbo 403 speed automatic backed by a new process 205 that we're going to install with a bit of a twist.

First things first, we're gonna need some motor mounts.

So with a mock up 400 bolted to the back of our engine,

we'll swing the whole package into the frame,

cut up some two.

Now, keeping with our theme, we're just gonna use simple hand tools like a grinder and 100 and 10 volt welder.

Later on, the scrambler makes a trip to a hardcore fab shop where we barter with a little bling, stay tuned.

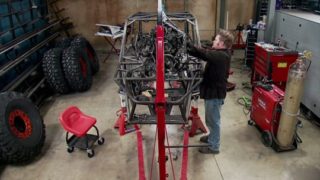
Now, we are right in the middle of putting together our 100% custom CJ eight scrambler inside our small two car garage. Now, originally we dropped the body on the frame to check for clearance against the back of the engine and now we've pulled it back off to deal with the transfer cases as well as a cross member. It's just gonna be easier to work here without the body in the way when it comes to transfer cases. It was your choice as to what we use. Thanks Chris,

you

and you guys made a great pick the new process 205 is possibly one of the strongest OEM cast iron all gear transfer cases you can choose.

Now, there's always been one problem with this case and that is that it only has a 1.96 to 1 low range ratio, which just isn't good enough for crawling. So here's the twist that we're going to throw in, we're going to install the range box off of a 203 transfer case that will in essence double our low range ratio of this case.

But for that, we're going to need some parts.

Now, it's all gonna start with an off road designs doubler kit. Now, this is a machined piece of billet 6061 aluminum. It's designed to accept the 203 range box on the front side and then adapt it. So the 205 transfer case can bolt up to the back. Now, this will give us two different low range ratios, a 2 to 1 as well as a 4 to 1. Now, this isn't too bad, but we're gonna go one step further. We're gonna take apart the 205 and rebuild it using a JB conversions, low

max 3 to 1 kit. Now, this is not only an upgraded housing for the 205, but it also has stronger and more importantly, larger gears. Now, the larger gears will give us a low range of 3 to 1. Now, that means that in this combination, we can have a 1 to 1 high, a 2 to 1 low, a 3 to 1 low and a 6 to 1 low

ready.

Now, there are a couple of benefits to using the 203205, especially when you're working in a small two car garage. First of all, you're using basically throw away transfer cases that they get from a junkyard. So the cost is a little bit lower than buying a brand new transfer case.

And also you need no special tools you don't need to press. You don't need any major equipment. You just need a pair of snap, ring pliers and a good set of punches

and you can put together a true four speed transfer case.

Now, one of the cool things about Jeeps is that the transmission mount is integrated into the skid plate. So all we have to do is mount it up underneath the frame and then we can mark and drill the locations for this rear mount. And we'll also add a second mount off the back of this 205 to help take up some of the weight from this extra heavy duty case.

Now, if you guys remember last time we built two pretty killer axles for this truck, we cut up 214 bolts, narrowed one and turned one into a steering axle.

Now we only had,

yeah,

here we go.

Now we only had 100 and 10 volt welder in the shop to tack on this TJ link mount kit that we got from Rusty's off road. So we carried them out to a welding shop and had them fully welded because we're only working in a small two car garage. And now they're back here to have all the lockers, gears and shafts installed. Now, we've shown you guys that a lot.

Well, there's one thing that we wanna spend some time right now talking about and that's this front axle, nobody has ever built this axle from a manufacturer.

So there's a lot of little things you gotta keep your eye on when you're building 100% custom front axle. That is what we're gonna talk about.

No.

Now there are some issues when you're building a hybrid axle like we have here. Now, the most important is how to seal the axle shaft itself. Now, this is a rear axle assembly that we converted to front axle. Now, a front axle has a seal right here at the center section that's designed to keep the fluid inside here, but not allow it to flow down the tube on a rear axle. You actually want the fluid to float

in the tube because it's gonna lubricate the wheel bearings. And there's a couple of ways that we could convert this rear axle into a ceiling front axle. Go ahead, drill out the spot welds, press the axle tubes out, press in some new ones that are machined to accept a Dana 60 front axle seal. That's a lot of work, especially if you're working in just your two car garage. So, we did some research called around. We found a company called Seals. It

now seals. It specializes in seals for almost any rotating assembly that you can think of everything from big, heavy duty, industrial stuff right down to axles themselves. We gave them some measurements like the inside diameter of our tube, as well as the size of the shaft that we're gonna fit through this seal. And now we have a specific seal for our 14 bolt that will put right inside the tube, keep the fluid in the diff.

The first step is to simply clean up the inside of the axle tube. It doesn't need to be polished. We just have to get rid of any welding slag or welding birds when they made the axle at the factory and we'll lube up the old rings on the seal, pop it into place.

Now, I'm sure a lot of you, you guys are wondering why spend all the time and effort to convert a 14 bolt rear axle into a front steering axle. Why not just get a day in a 60? Well, number one, it's just really cool. Anyone's gonna look underneath the front of this truck, they're not going to know what it is. But more importantly, the 14 bolt has some unique features that make it very strong. The first one being the front pinion support bearing. Now, this small bearing,

this casting in the housing is designed to hold the front of the pin and keep it from deflecting. When the gear set is under a serious load, the pin can actually deflect off of the ring gear and lose good tooth contact and actually break the teeth off a lot easier. Now, the adjusters for the side bearing load as well as backlash are threaded, they're not shin packs like in the Dana 60. Now, that means that you can really fine tune that gear pattern check

and get it set up perfectly.

The ring gear itself is just larger. It's 10.5 inches across the data 60 is only nine and three quarters making this a lot stronger because the teeth are physically larger.

The differential assembly is housed inside this section and it's supported on four sides making it stronger as well. And the last feature, it's not really a strength feature. It's just an easy to rebuild feature. The pin

self is housed in this pin support inside. Here is a crush sleeve that collapses to set the pin bearing preload. Now, if you are working in a small garage, like we are here and you don't have an impact strong enough to start crushing that crush sleeve, all you need to do is take your new pin, the bearings and a new crush sleave over to a differential shop they can set up your pin bearing preload for you and you can just bring this home therefore making it real easy for the home builder.

Welcome back to the extreme shop where our CJ eight scrambler is coming together in our bare bones. Two car garage, Ian and Chris are using just basic tools to prove you don't need 20 grand worth of shop equipment to build a custom Jeep at home.

Now, obviously, we're just mocking everything into place to take some critical measurements and also take care of a few little details. Now, the front axle, we went ahead and installed a spindle as well as a used rotor hat and rotor to measure for the axle shafts that we're gonna order from Randy's ring opinion.

And now we're gonna take care of a couple of issues that came up earlier.

Now we installed a five inch suspension system right out of the box. We first put this thing on here. The problem is is we saw the Jeep just sat a little bit too tall. So we called up Rusty's office

and they sent us the shorter three inch coil springs for this kit and that'll just bring the center of gravity down a little bit lower. One other thing we want to take care of while we're here are the shocks and the shocks that come with the kit. They're a good shock, just a typical gas charge mono

shock. The problem is, is they can actually limit the articulation.

The upper pin mount is obviously stiff and then the bottom poly bushing mount on the axle doesn't really give the axle a lot of flexibility. So we're gonna install a set of Q A one adventure series shocks.

And the nice thing about these shocks is they are fully rebuildable and tunable so we can tear them down and change the valving pack to fine tune in our suspension. But the really cool feature is that the upper mount is like a ball joint allows for 30 degrees of movement on the top end of the shot and the bottom is the same thing. It's a Q A one spherical rod end with misalignment spacers built in place. So once these are bolted to our axle, it'll help our Jeep Flex when we're on the trail,
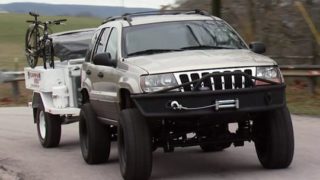
jack it up.

Now, obviously, you guys have figured out just because we're building this Jeep in a small two car garage. We're not holding back on the custom touches and that doesn't end with our seats. I'm sure we could have went and got a set from a junk yard, but they certainly wouldn't be as cool or as comfortable as a set of full suspension seats from Pr P. Now, these are a tubular constructed frame with parachute cord draped between the two tubes to give us the suspension action.
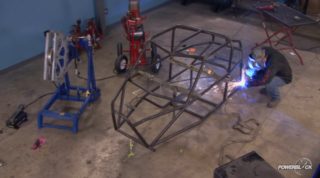
But the cool thing about Pr P is they're really known for their over the top vinyl selection. And we went ahead and picked a brushed aluminum vinyl finish for the center and then a black carbon fiber outer edge to really sort of tie in the whole theme for our project. Jeep Plus with their universal fit seat brackets made specifically for our Jeep tub. It sings. We bolt right in
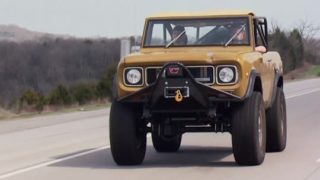
with the seats in place. It's time for a cage

that's usually not a problem for us here at extremes because we've got the Benders, nachos grinders and welders. But because we're working in a small two car garage, we're gonna have to come up with a different plan and you'll see that after the break.

Welcome back to extreme and to essentially off road where our Jeep scrambler roll cage will come together.

Now, obviously, we could put the cage into this Jeep back at extreme. But you know, when you're building on a budget, like we are with this project every now and then you got to step back and let somebody else do the heavy lifting, not because you can't do it yourself, but because they've invested in all the tools that are required to do it right.

Essentially off road is a four by four repair and custom fab shop specializing in everything from lift kits,

accessories,

drive train components to full blown turnkey buggies.

All right, we dragged Jimmy here out from behind his solid gold desk up front here essentially off road. Uh Hey, thanks for letting us uh take over your shop. I

appreciate it. Um Now you sent us a cage,

right? Yes, sir, our trail rider kit, but since we brought our GP here, you're gonna do some things a little bit different just for this project, right? Yes.

So what, uh do we have any issues we need to watch out for? Because we got a CJ eight with a CJ seven cage. The cage is designed for a CJ seven.
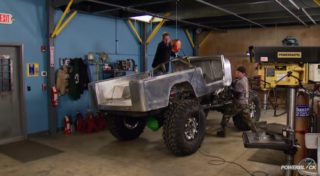
But what will happen is the cage will basically terminate right here on the Jeep. Uh Y'all running a standard C JSE hard top. So that'd be a great for
location.

We're gonna tie the A and the B pillars together allow you to mount your seat belts to that for extra security.

What I was thinking is uh we come off the frame,

tubular rocker guards,

come back to the frame several times and tie that straight into the cage for strength for the cage and the rocker guard. Now let me ask you this question if you were to do this for somebody, this exact same thing. Do you have a ballpark figure as to what, what that cost?

Um

probably about $1100. If we were gonna do it, just you roll the Jeep in, we do it, you pick it up.

Um That can vary depending on if you want it, powder coated, how well a paint job you want on the Jeep and how much you want as far as seat mount seat belts, you know, and anything like that.

But either way at, even if it's 1100 to 1500 that's cheaper than going out and buying a 220 volt welder.

And you still don't have a tubing bender or a tubing notch or. So, if you're working on a budget, this is the best way to go,

you know, gold's gone through the roof. Chris has been wearing a solid gold necklace for a while and uh I like that.

That's my style right there.

I think with gold being so high, I think we have a deal.

We're good. We're golden.

I love that. That's,

we have an accord.
Show Full Transcript